Online Demo - Print Tracking - Users Print to the IP Address of Printer or the Local USB/LPT Printer

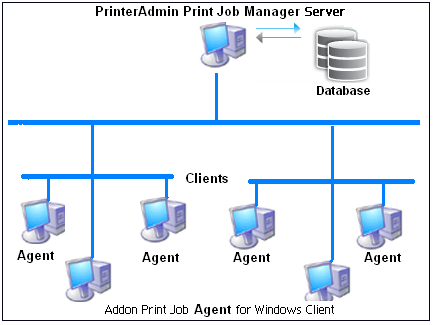
In this demo, Print Job Manager is installed on the computer "server1". The user's computer "client1" has two printers. One is direct IP printer: HP LaserJet 8150 Series PCL6, the other is local USB printer: Lexmark X125.
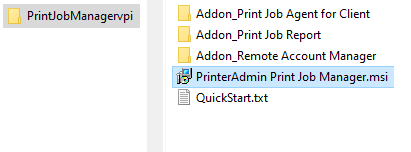
Step 1. Download and extract the 30-day trial version of Print Job Manager, then double-click PrinterAdmin Print Job Manager.msi to install Print Job Manager on the computer \\server1.
Step 2. Click Start -> All Programs -> PrinterAdmin Software -> Print Job Manager to run Print Job Manager.
Step 3. In Preferences -> Advanced tab, select the following options and click Save, and then click Exit.

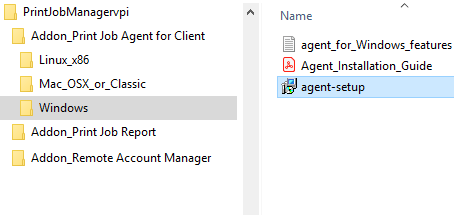
Step 4. Copy agent-setup.exe to other computers (\\client1). Double-click "agent-setup.exe" to install the agent.
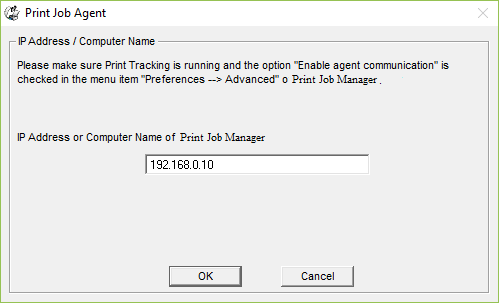
Step 5. Click Start -> All Programs -> Print Job Agent -> Print Job Agent to run the agent. Enter the computer name (in this example: server1) or the IP Address of the computer that has Print Job Manager installed.
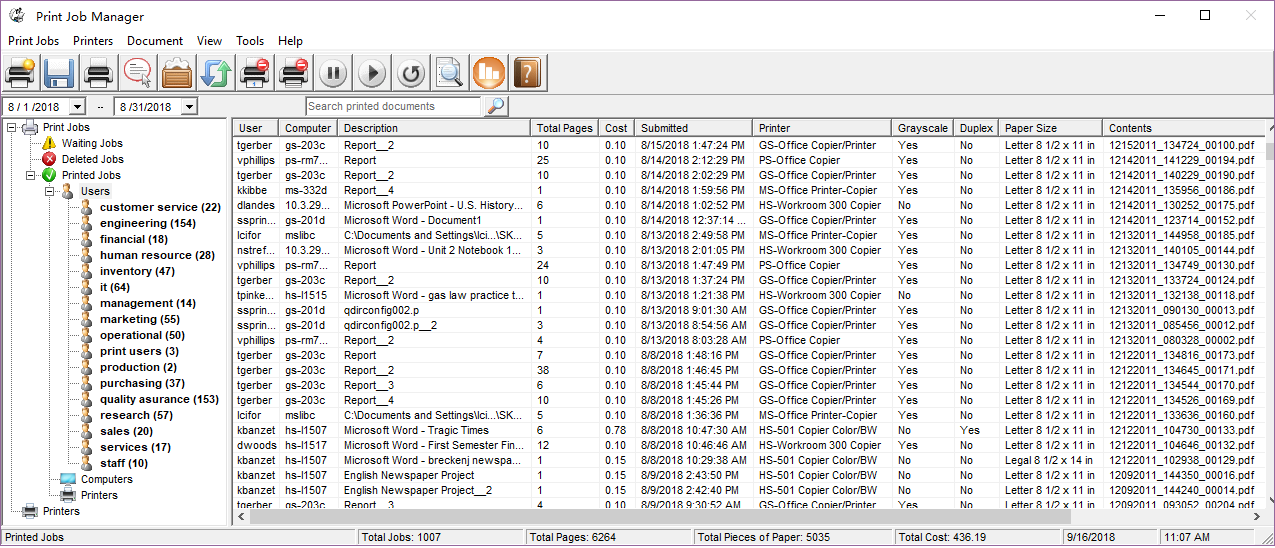
Step 6. From the user's computer "client1", print a document to the direct IP printer: HP LaserJet 8150 Series PCL6 and print another document to locally USB printer: Lexmark X125. The print jobs are tracked in Print Job Manager on "server1". These two printers are added to the list of monitored printers automatically in Preferences -> Printers.
Step 7. Follow "Create, View and Email Printer Usage Report".
Tip:
1. Print Job Agent runs automatically when users log into the computer.
2. Print Job Agent can be automatically installed with Windows Group Policy.
3.The "IP_" means the direct IP printer. The "Local_" means local USB printer.