Online Demo -- Print Release Station User Mode with Prepaid Account
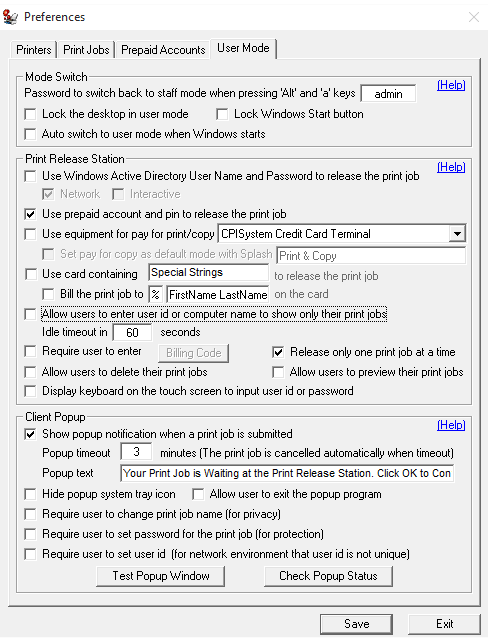
Step 1. In Preferences --> User Mode, select “Use prepaid account and pin to release the print job".
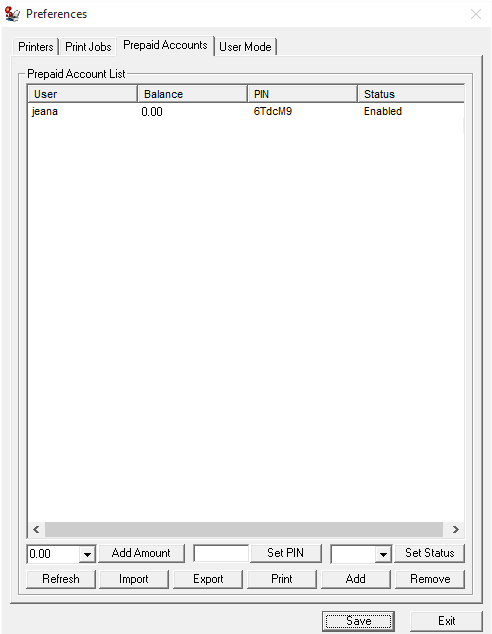
Step 2. In Preferences --> Prepaid Accounts", click "Add" button to add a new account. The user account can also be imported from Windows Active Directory or a CSV file (You can export the users to CSV file, add/update that CSV file, then import it back). If the cost of each page is 0.10 in Preferences --> Printers, then balance 1.00 means the user can print 10 pages.
Tip:
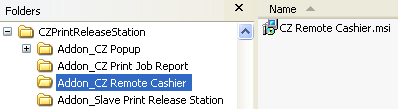
Print Release Station has addon Remote Cashier that can be installed on any staff computer to manage prepaid account remotely. The remote cashier account can be created in Print Release Station Preferences -> Print Jobs.
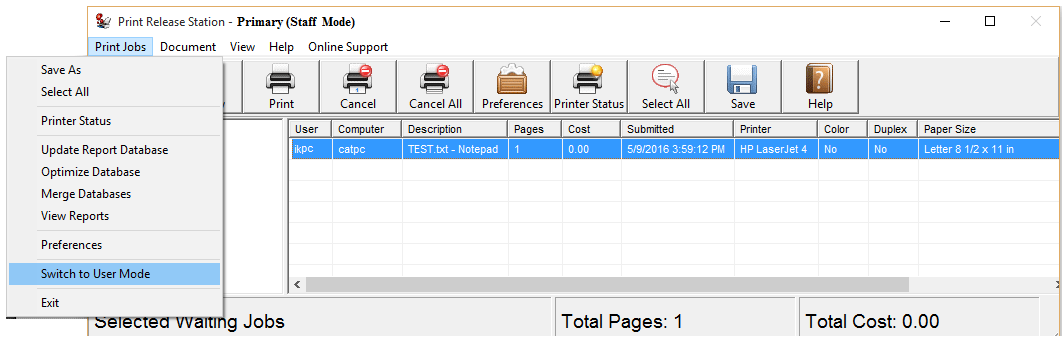
Step 3. In Menu Print Jobs, click "Switch to User Mode". You can switch back to Staff Mode by pressing "Alt" and "a" keys together, then enter the password defined in Preferences --> User Mode.
Scenario
1. A user sends a print job from a workstation.
2. Print Release Station holds the print job with detail print job information.
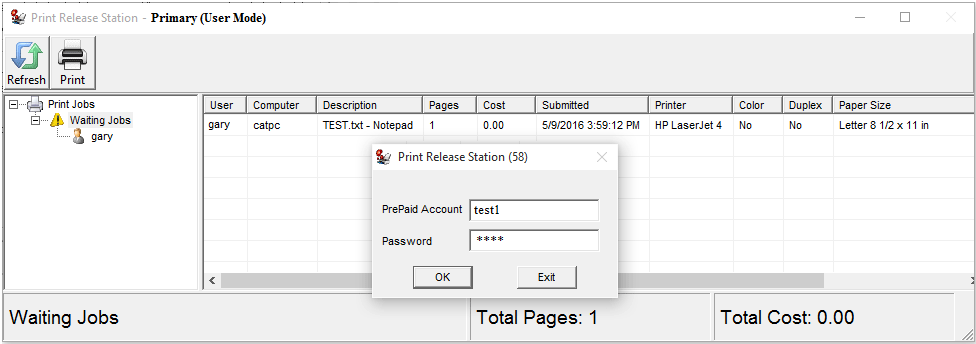
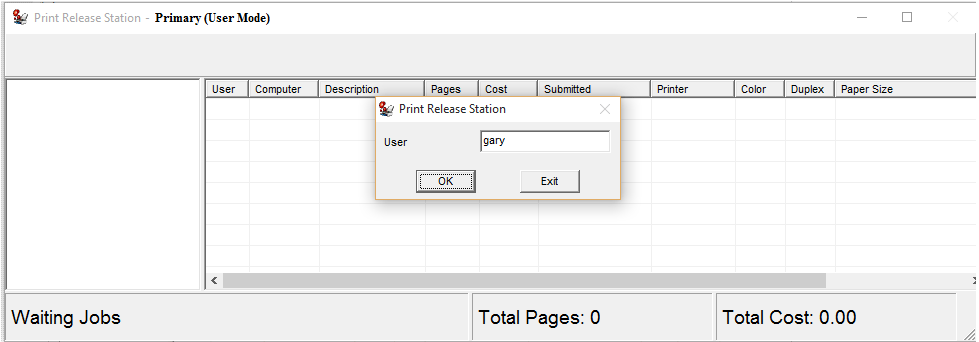
3. The user goes to the Print Release Station and types the user ID (or Windows login ID) to show only his/her print job. The users can also scan their ID card to input their user ID with a barcode scanner or card reader.
4. The user types the prepaid account and pin to release the print job. The job can't be printed out if there is not enough balance left for that prepaid account. The printing activity is tracked and saved in the database for print accounting.