Online Demo - Print Tracking - Users Print to the Shared Printers on Windows Print Server (\\Printserver\Printer)
On user's computer, the format of the printer name in "Devices and Printers" is like "printer-name on print-server-name" (for example, Lexmark X125 on PrintServer2).
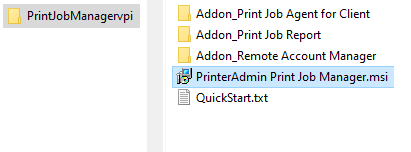
Step 1. Download and extract the 30-day trial version of Print Job Manager, then double-click PrinterAdmin Print Job Manager.msi to install Print Job Manager.
Option 1 (recommended): Install Print Job Manager on your Windows print server, e.g., \\PrintServer

Option 1: Install Print Job Manager on your Windows print server, e.g., \\PrintServer
Step 2: In this demo, Print Job Manager is installed on \\PrintServer with three shared printers: TOSHIBA e-STUDIO4520C Series PCL6, Canon iR2200-3300 PCL6, and HP LaserJet 5000 Series PS.
Step 3. Click Start -> All Programs -> PrinterAdmin Software -> Print Job Manager to run Print Job Manager.
Step 4. In Preferences -> Printers, add the printers you want to monitor in the list of "Available Local/Network Printers" to the list of "Monitored Printers", click Save, and then click Exit.
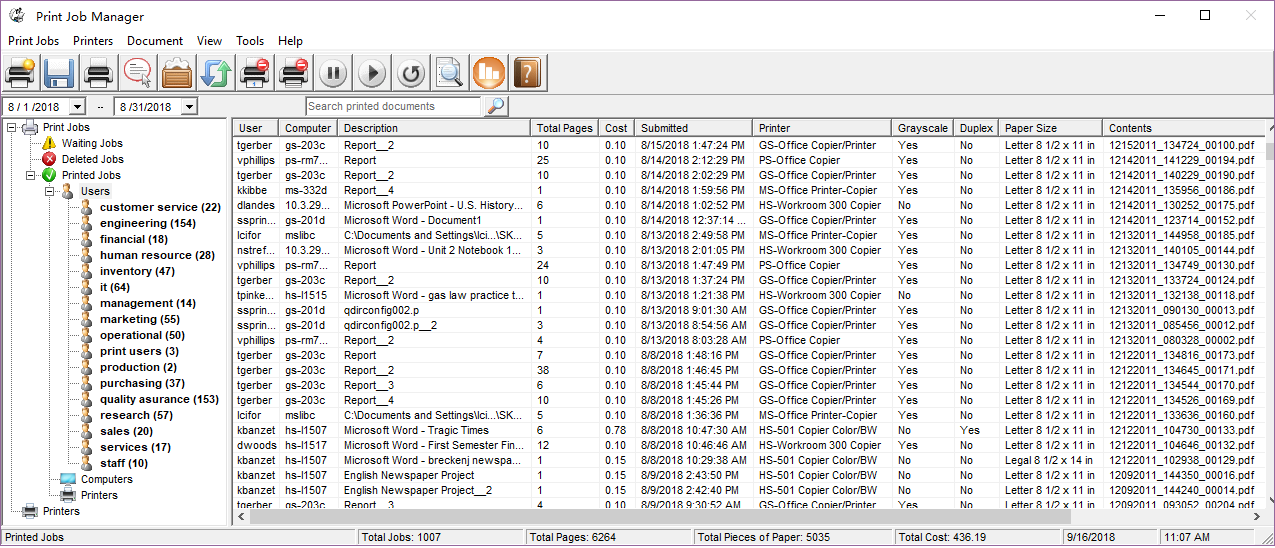
Step 5. All print jobs sent to these shared printers will be tracked in Print Job Manager -> Printed Jobs.
Step 6. Follow "Create, View and Email Printer Usage Report".
Option 2: Install Print Job Manager on a computer that is not a Print Server, e.g., \\CentralComputer
In this demo, there are two Windows print servers: printserver1 and printserver2 in your network. Add network printers to the computer \\CentralComputer that has Print Job Manager installed.
Step 2. Choose Start -> Devices and Printers.
Step 3. Click "Add a printer" button to start the Add Printer Wizard, and then click Next.
Step 4. Click the "Select a shared printer by name" option and follow the instructions on the screen.
Step 5. The printer icon will be added to your Devices and Printers folder. The network printer name is like "Printer-Name on Print-Server-Name".
Step 6. Click Start -> All Programs -> PrinterAdmin Software -> Print Job Manager to run Print Job Manager.
Step 7. In Preferences -> Printers, add the printers you want to monitor in the list of "Available Local/Network Printers" to the list of "Monitored Printers", click Save, and then click Exit.
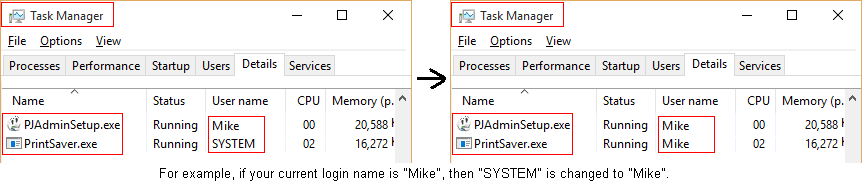
Step 8. In Control Panel --> Administrative Tools --> Services --> PrinterAdmin Print Job Manager, change the Local System Account to your account that is currently logged into this computer and with which you installed the Print Job Manager software, then restart the Print Job Manager service. If Print Job Manager is not listed in the Services, click Print Job Manager menu Tools -> Install Print Job Manager service.
Tip: If you want to use a different user account to run Print Job Manager service, log in to the Windows with that user account, repeat above step 2 to step 8, then restart the Print Job Manager service. That user account must have administrator privileges on all network printers.
Step 9. All print jobs sent to these network printers will be tracked in Print Job Manager -> Printed Jobs.
Step 10. Follow "Create, View and Email Printer Usage Report".