Online Demo -- Print Release Station User-Mode with Login and Popup Notification
Step 1. In Preferences --> User Mode, select “Allow users to enter user ID or computer name to show only their print jobs” and “Show popup notification when a print job is submitted on the workstation”.
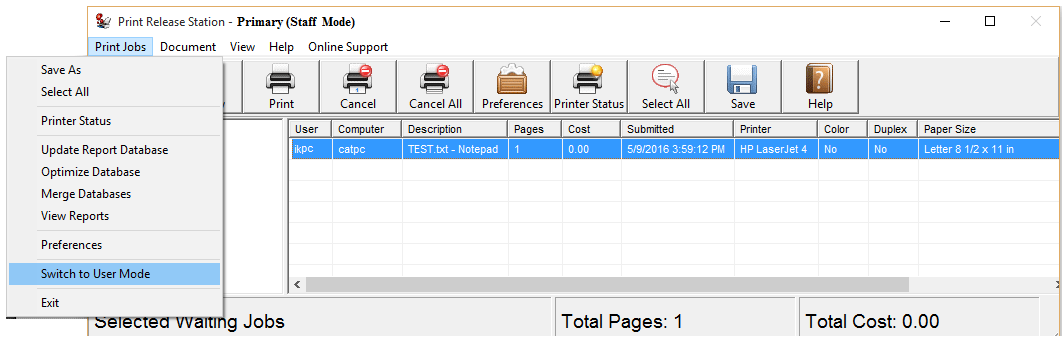
Step 2. In Menu Print Jobs, click "Switch to User Mode". You can switch back to Staff Mode by pressing "Alt" and "a" keys together, then enter the password defined in Preferences --> User Mode.
Step 3. Copy "popup-setup.exe" to the workstation, double-click "popup-setup.exe" to install the popup.
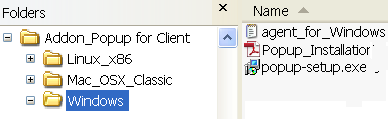
Step 4. Click Start -> All Programs -> PrinterAdmin Software -> Popup to run the popup. Enter the computer name or the IP Address of the computer (For example 192.168.0.10) that has Print Release Station - installed.
Tip: Popup will be started automatically when user login next time.
Scenario
1. A user sends a print job from a workstation.
2. A popup window appears on the workstation (Windows, Mac OSX/Classic, or Linux client computer) showing the document name, printer name, total number of pages, and cost.
Tip: The users are allowed to
(i) change their print job names for the privacy, and (or)
(ii) create a password that they can use to release their print jobs on the print release station, and (or)
(iii) create a user ID for their print jobs that they can use to show only their print jobs on the print release station.
The options “Require user to change the document name”, “Require user to set a password for the print job” and "Require user to set a user ID" can be selected in Preferences --> User Mode.

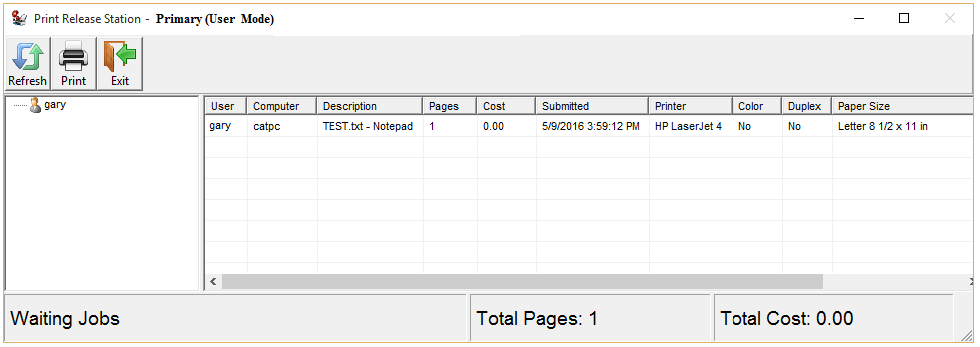
3. Print Release Station holds the print job with detail print job information, but the job is not shown on the screen
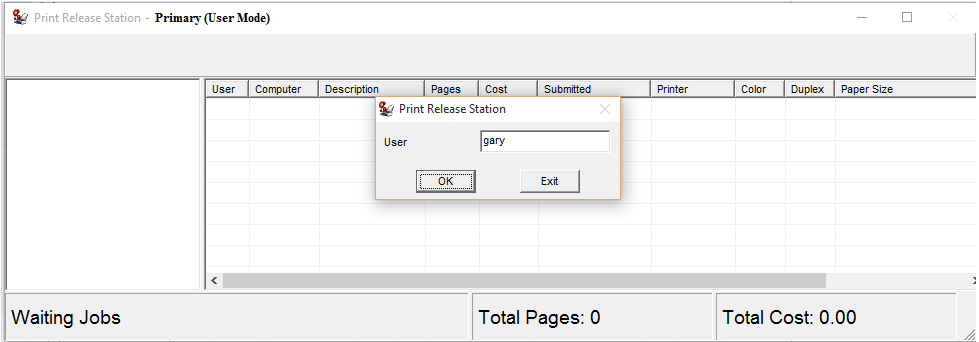
4. The user goes to the Print Release Station and types the login ID or workstation name to show only his/her print job.
5. The user either releases or deletes the print job. The printing activity is recorded in the database of Print Release Station.
Tip: The user needs to enter the password to release or delete the print job if the password on the Popup is enabled in step 2.
6. The user clicks the exit button to return the login window, or the Print Release Statioin can return to log in window automatically after 30 seconds of idle time.